Azure SQL User Connector Guide
The Azure SQL user connector lets a Custom Chatbot query Azure SQL Database under each end user's own Microsoft Entra ID identity. It supports user-level permissions, role-based access control (RBAC) and row-level security (RLS) as configured in the database.
Azure SQL is a database user connector: it is used through a Custom Chatbot and is not a direct chat tool for RouteLLM.
Microsoft blocks ordinary users from consenting to the Abacus.AI app on their own. Before anyone else in your tenant can connect Azure SQL, a Microsoft Entra admin must create the connector once and tick the "Consent on behalf of your organization" checkbox on Microsoft's Permissions requested screen, then click Accept.
This is not the same as the Grant admin consent button in the Entra admin center. Once the admin has ticked the checkbox, every user in that tenant can sign in and create their own connector freely. Until then Microsoft stops them with "Need admin approval".
See Microsoft Entra Tenant Consent for the full walkthrough.
Prerequisites
- Access to an Azure SQL Database
- An Abacus.AI account with permission to create connectors and projects
- Microsoft Entra ID credentials for each end user
Step 1 — Create the Azure SQL connector with RBAC import
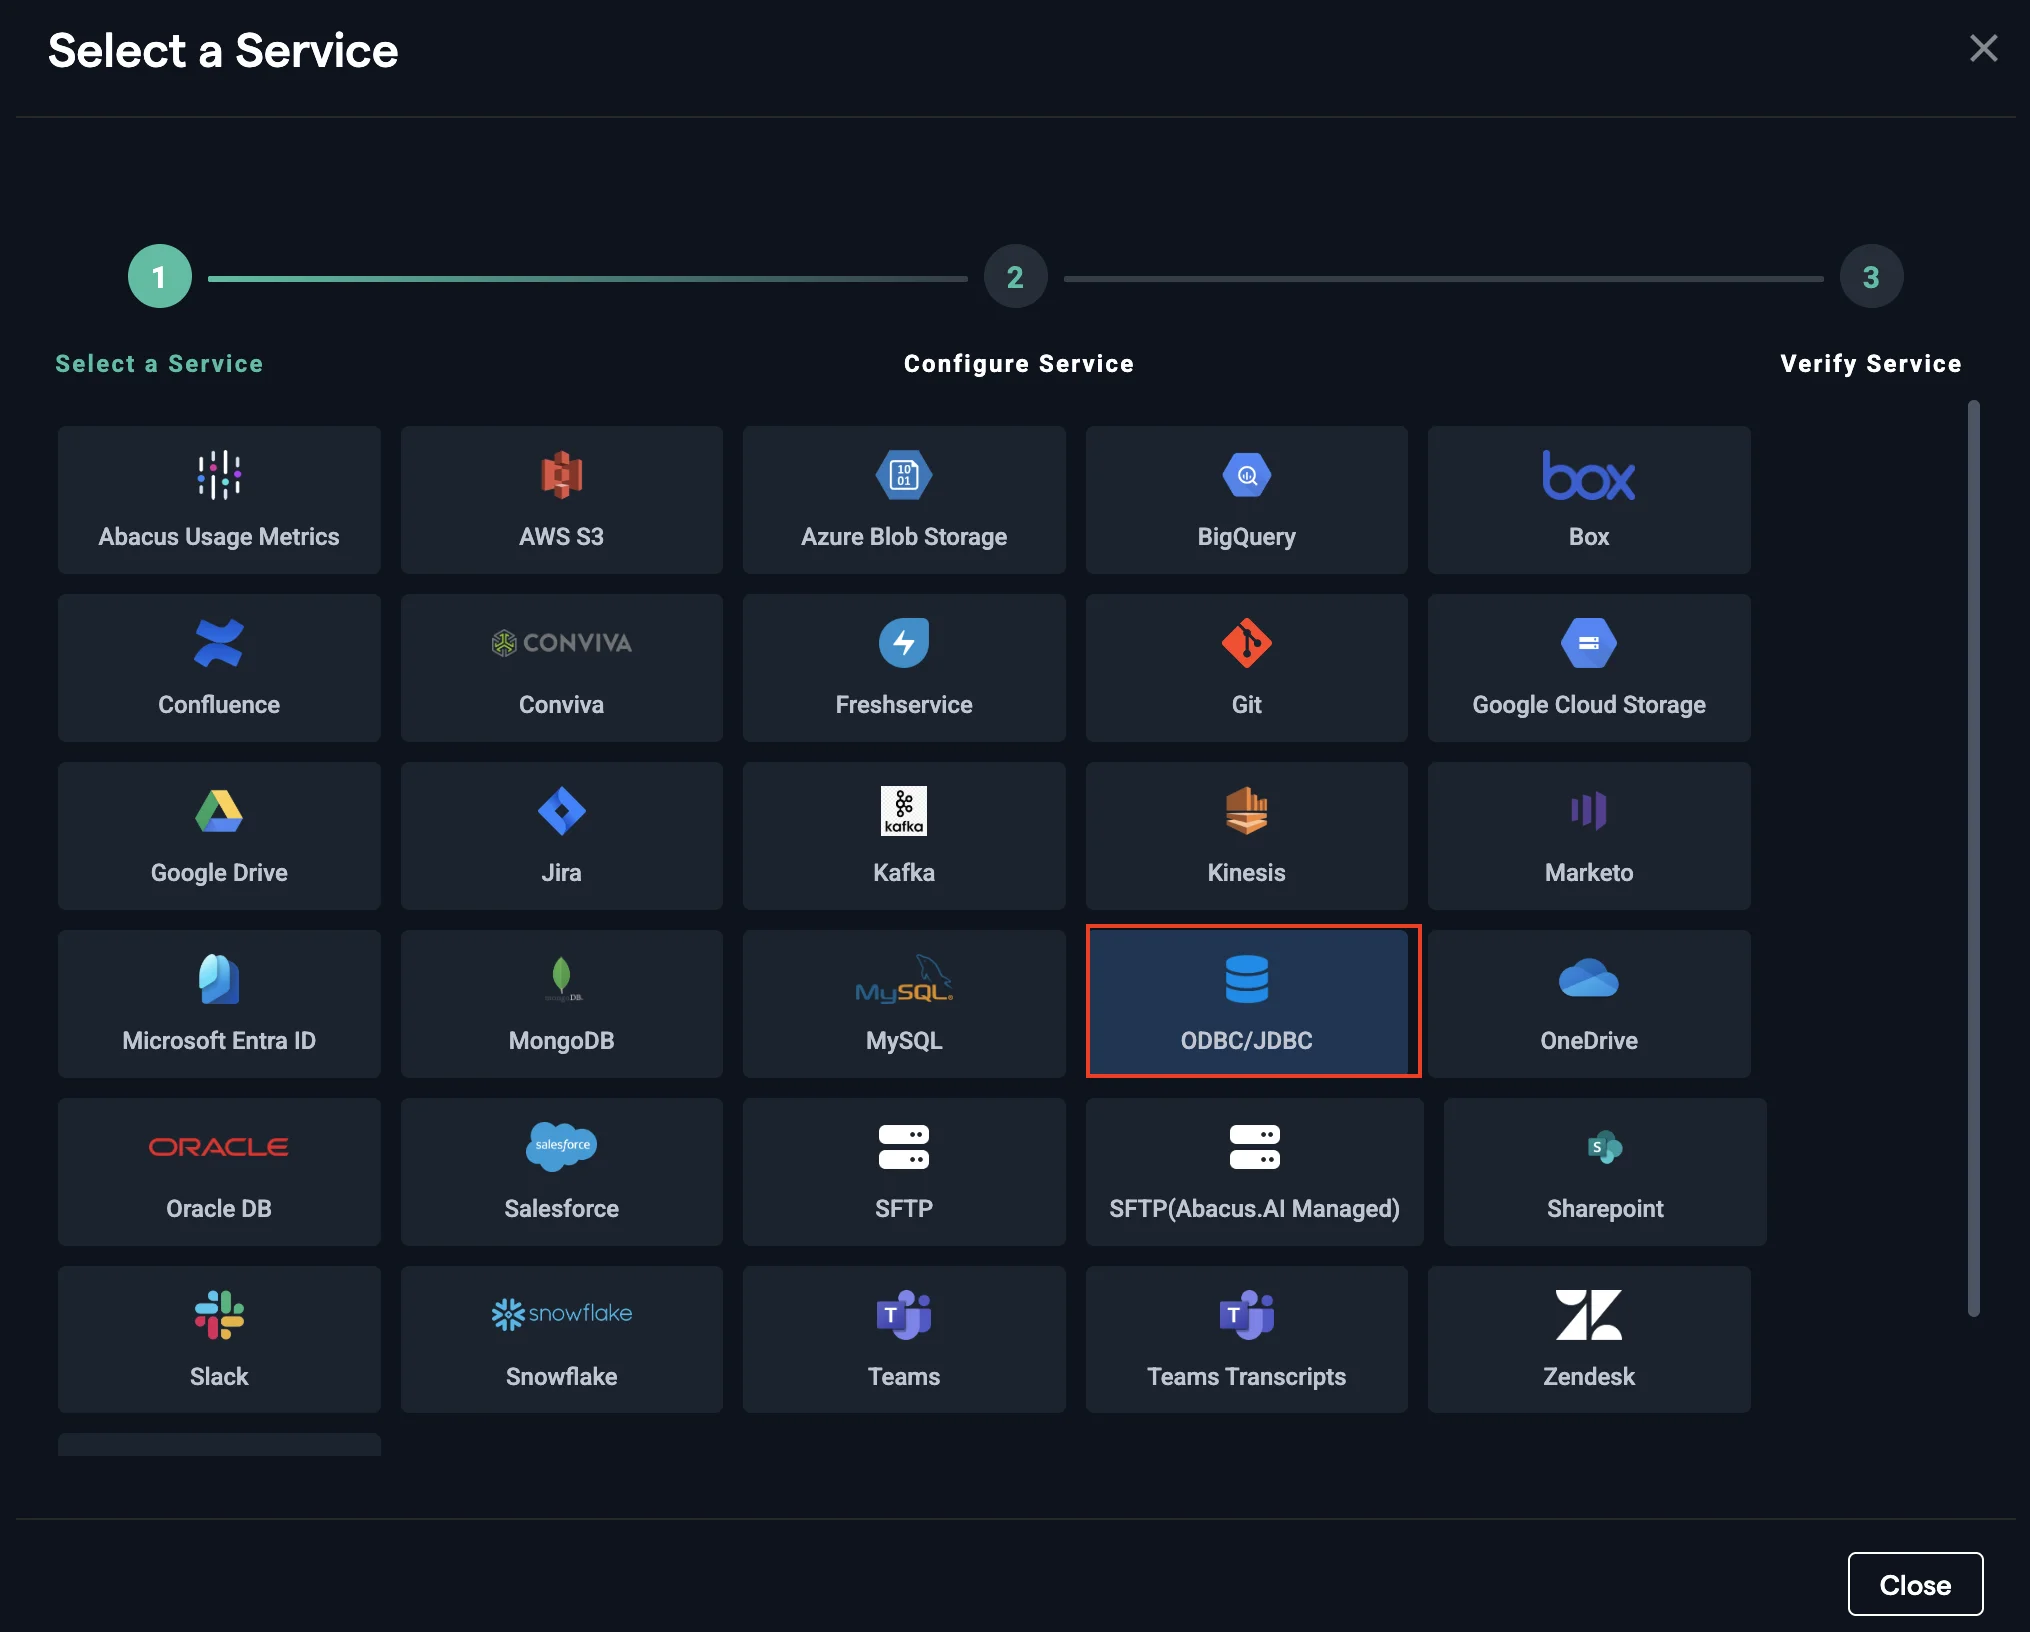
- Create an organization-level Azure SQL connector using the JDBC/ODBC option, with the ODBC 18 driver.
- Turn the IMPORT RBAC toggle on.
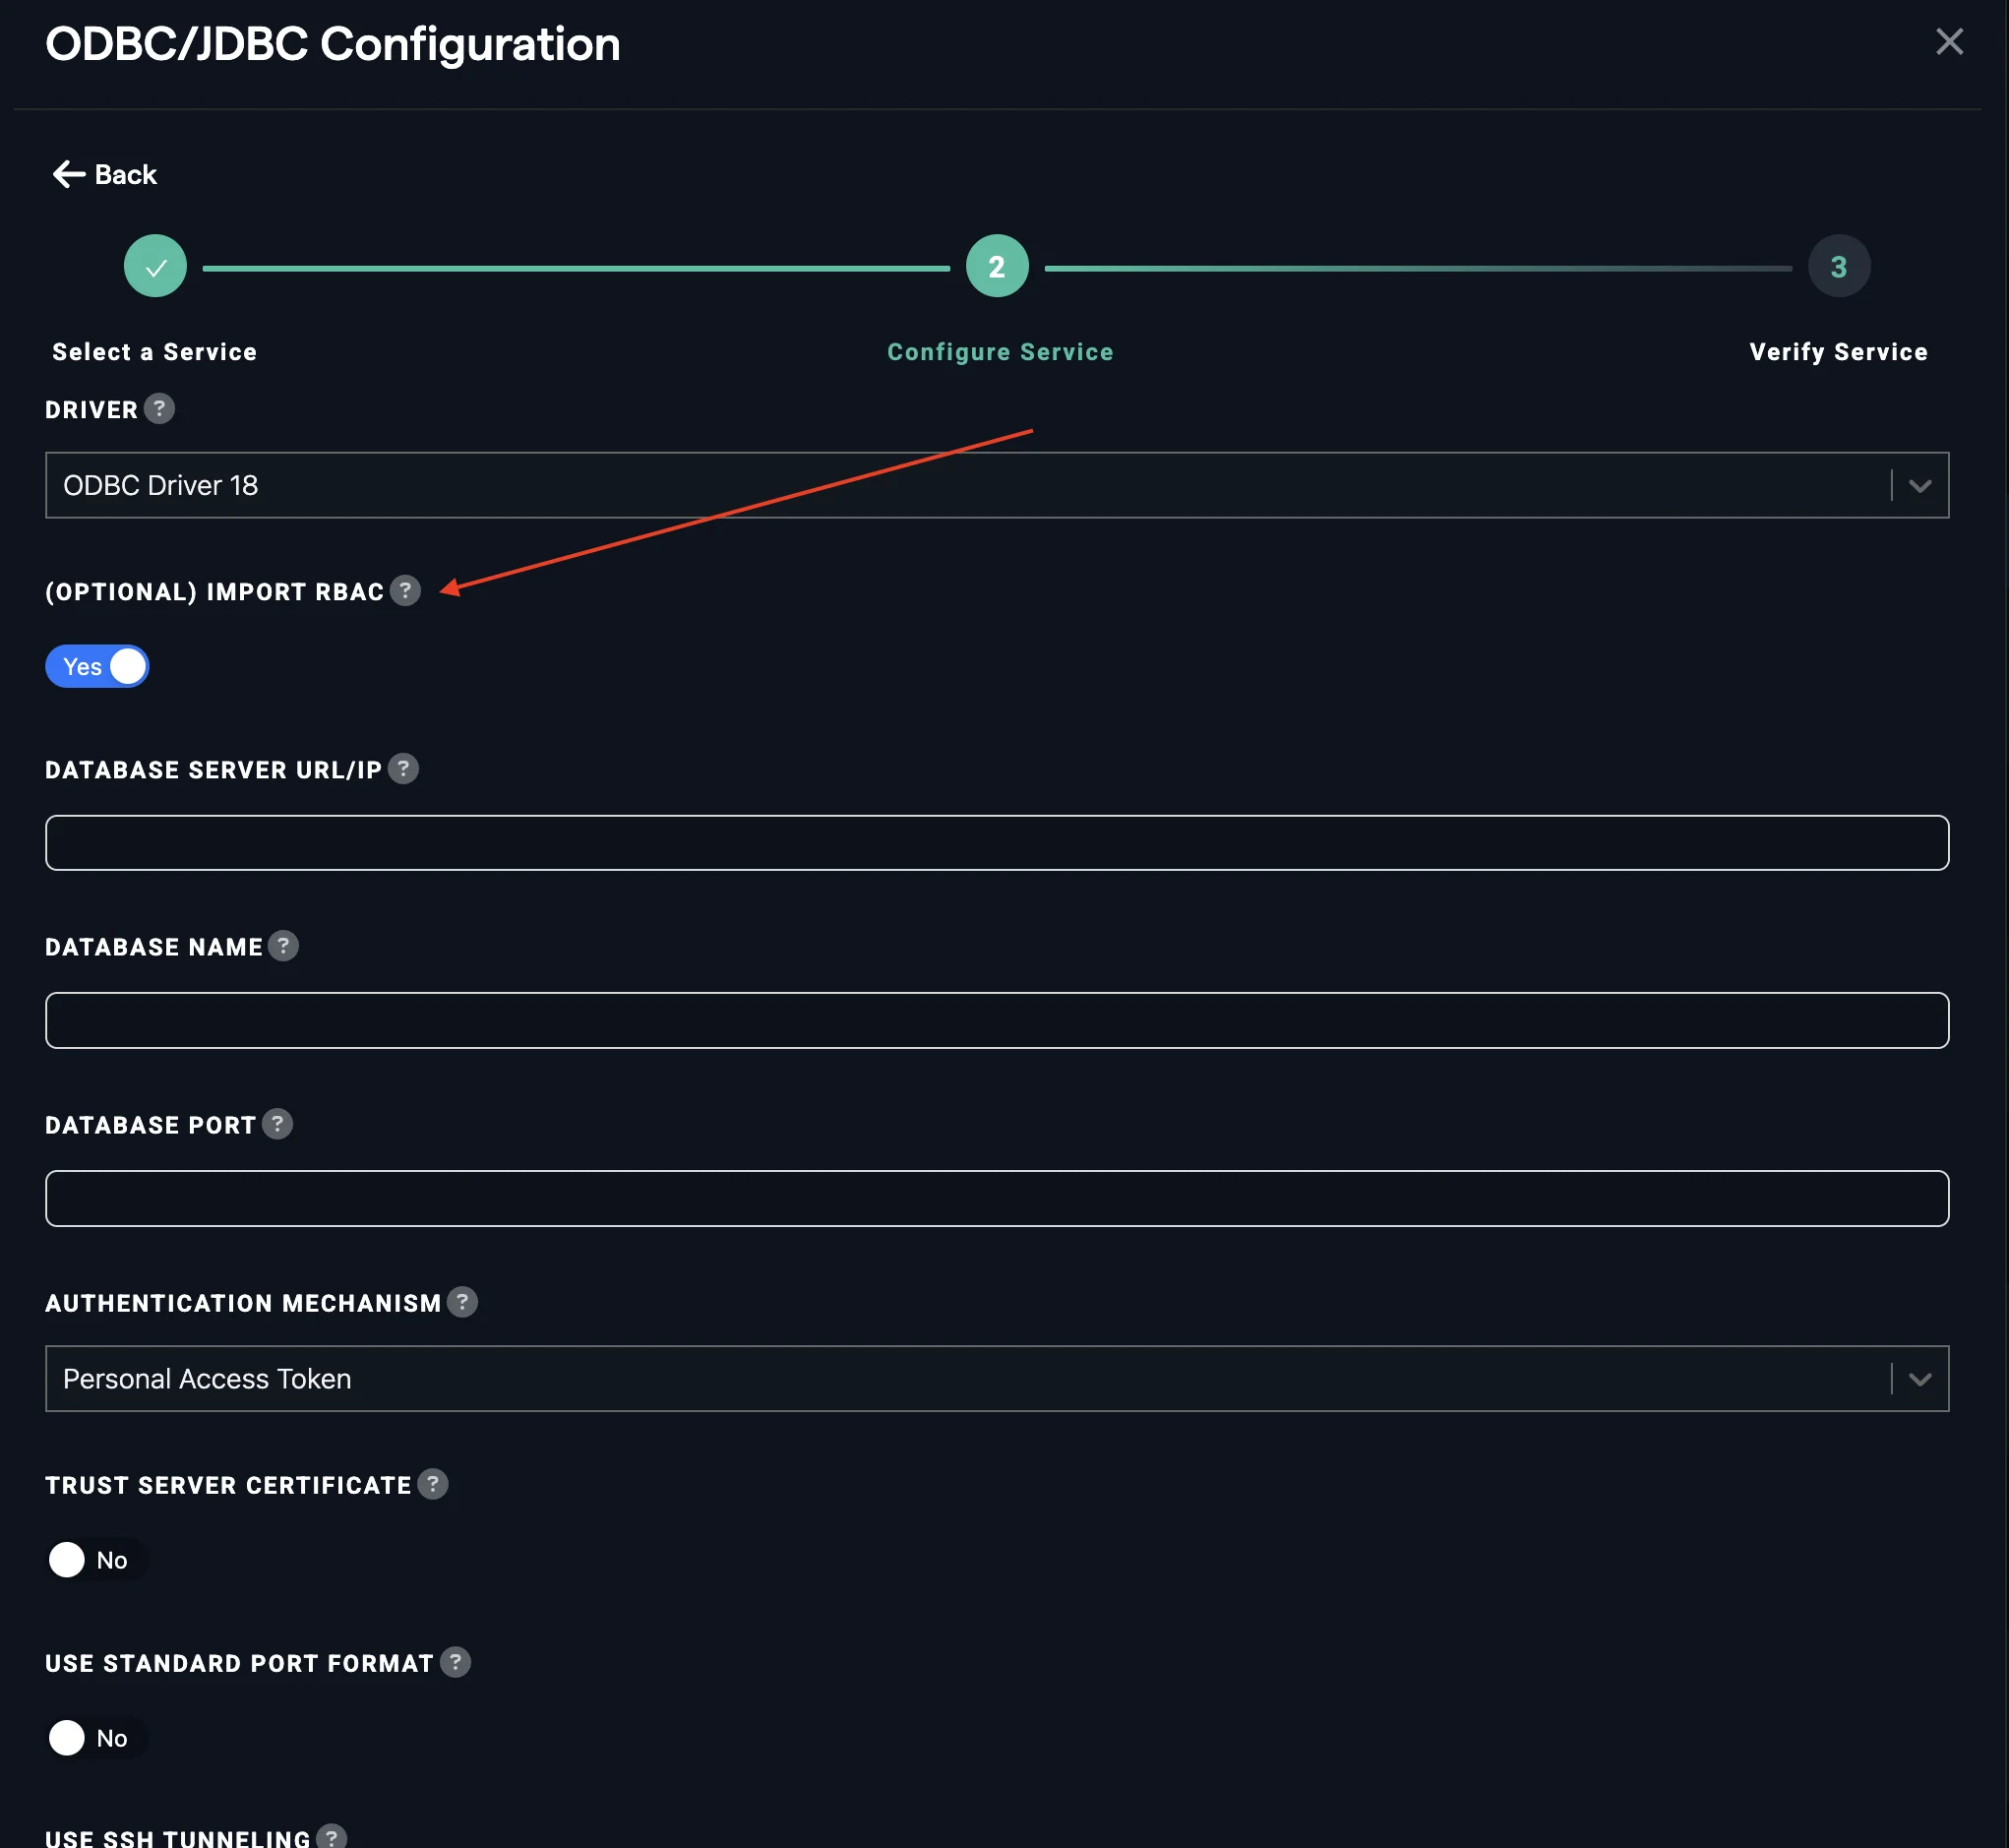
Enable the IMPORT RBAC toggle. Without it, users share the ODBC connection and might gain access to more data than expected.
- Fill in the connection details and click CREATE.
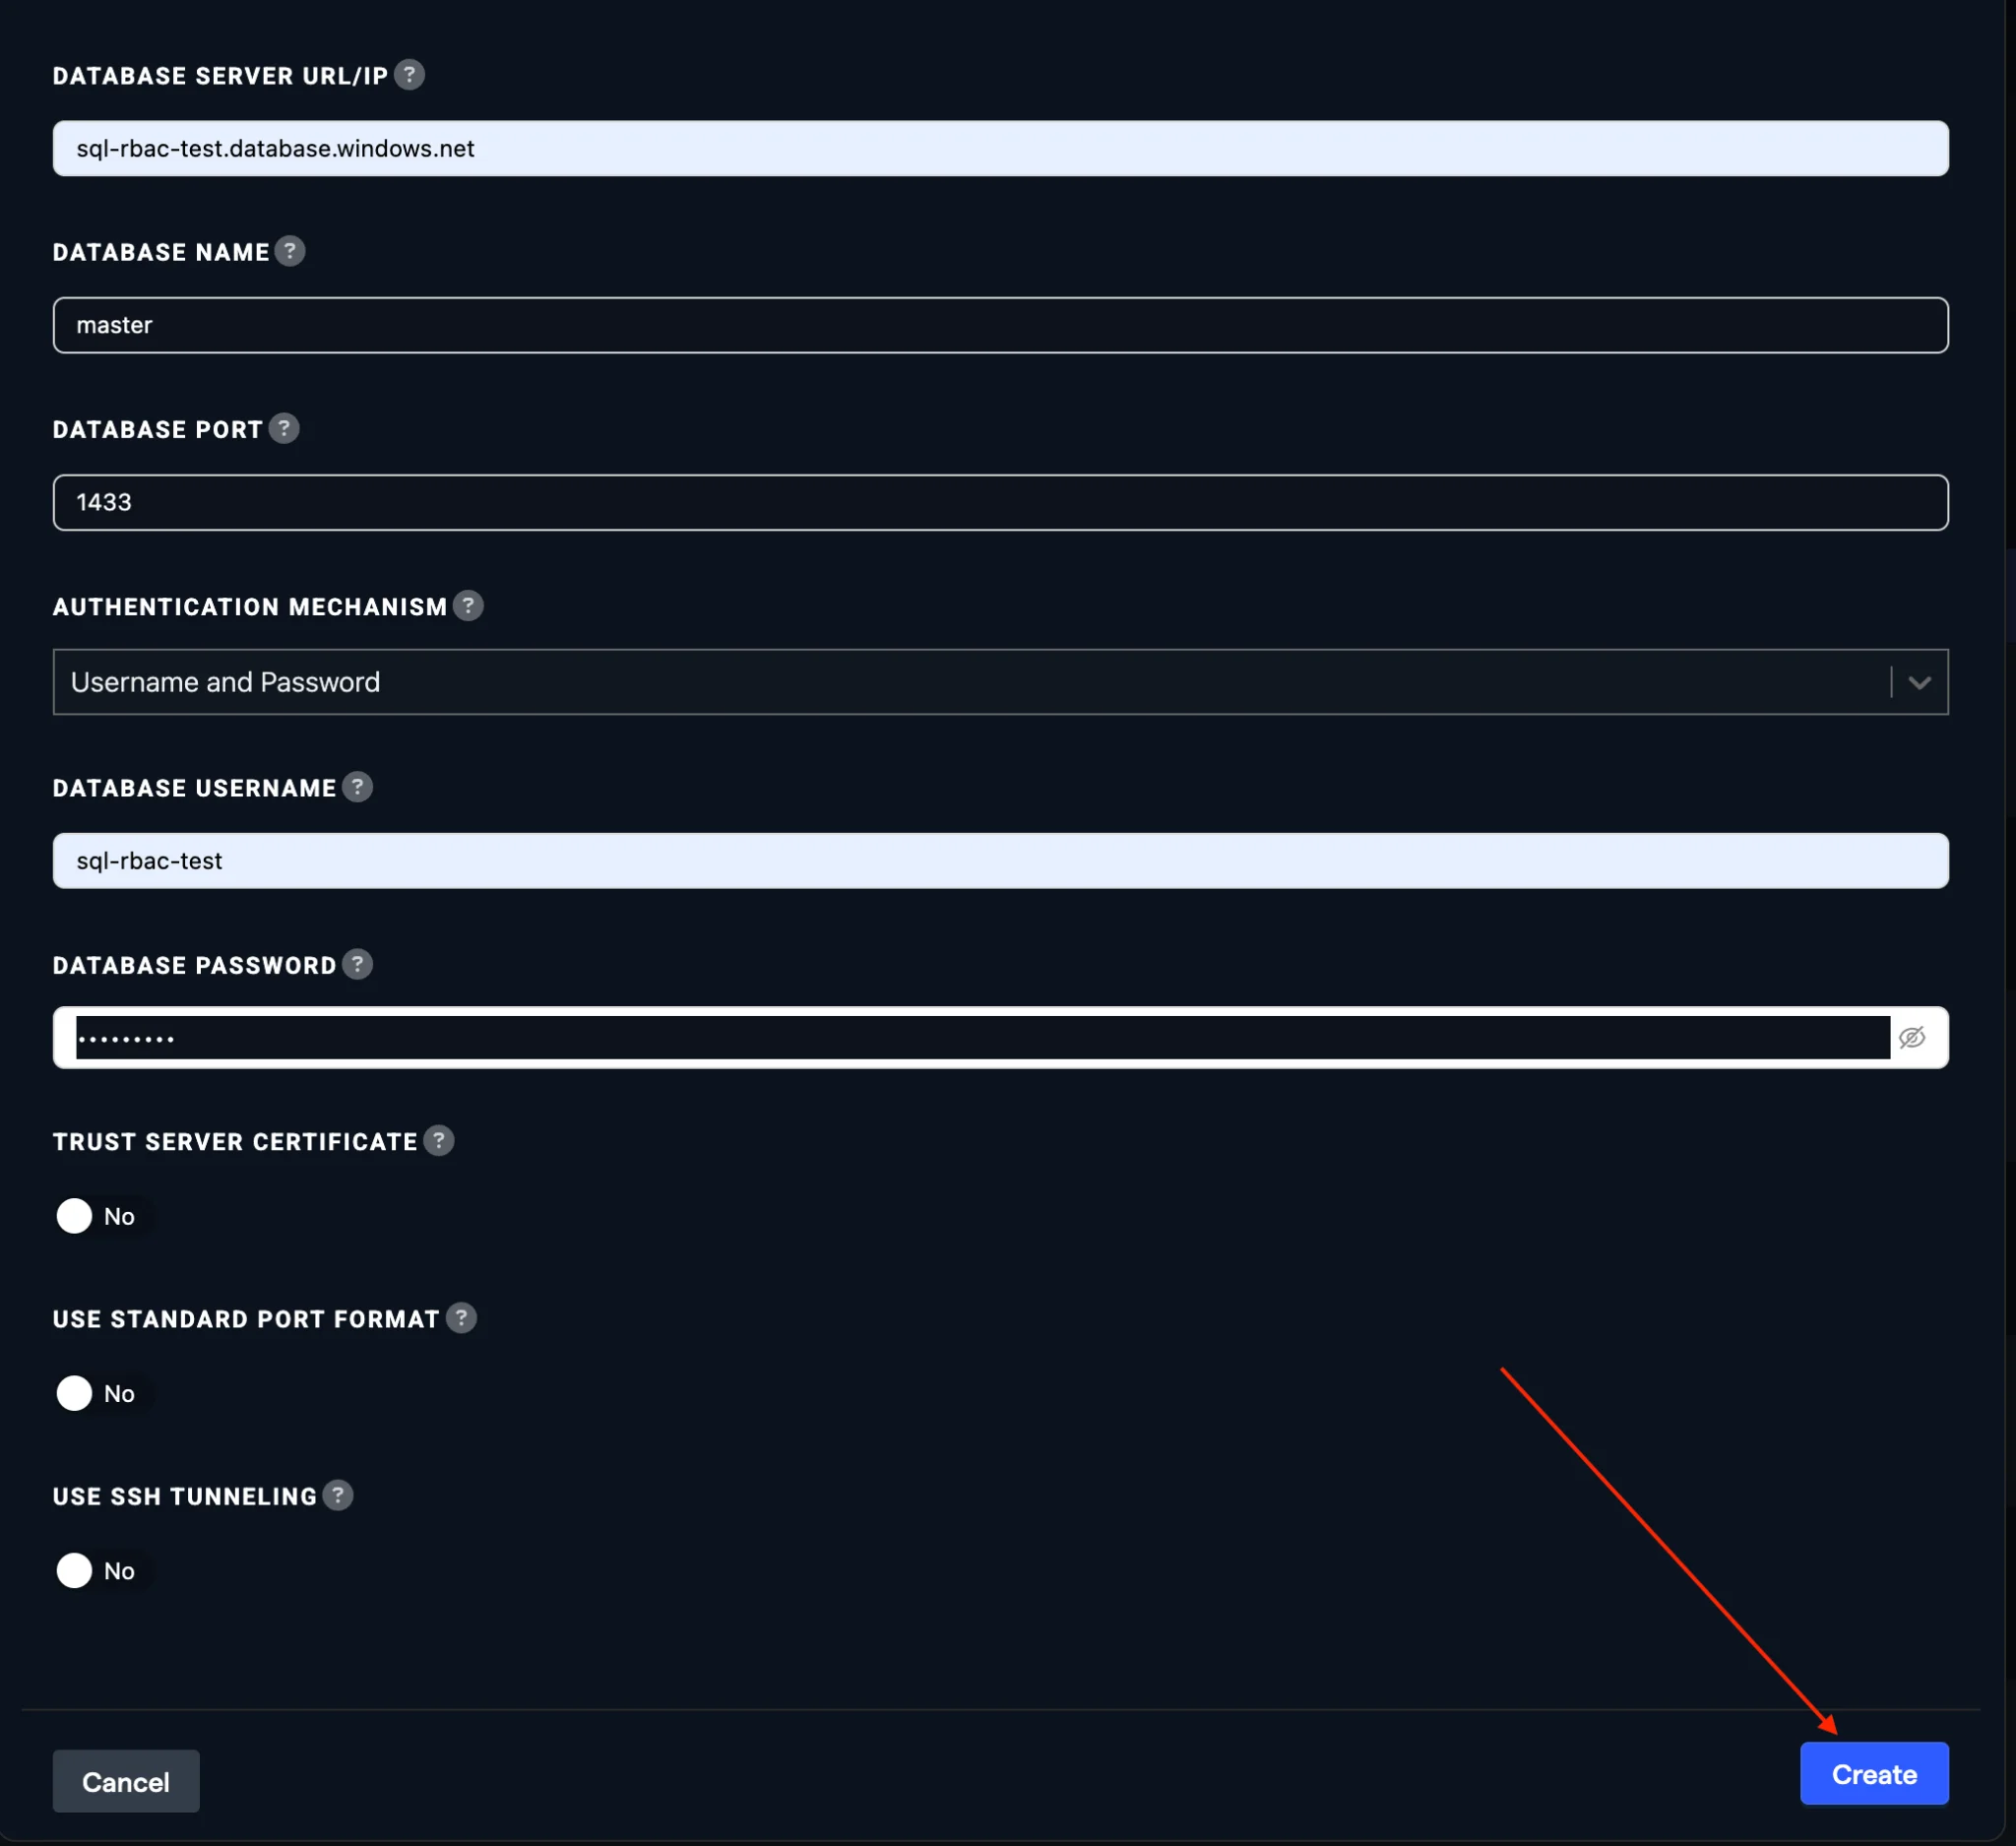
- Create the Abacus.AI user in your database and allowlist the Abacus.AI egress IPs:
CREATE USER [abacus_azure_sql] FROM EXTERNAL PROVIDER;
- Click Verify Now and make sure the connector is in the active state.
Step 2 — Build a Custom Chatbot on the connector
Follow Use a database connector in a Custom Chatbot: create a Custom Chatbot project, train the model with Structured data source → External Databases, select the Azure SQL connector from Step 1 and add the tables to use, then deploy and test it.
Step 3 — End-user sign-in
When a user enters their first question, they are asked to log in to Azure SQL once with their Microsoft Entra ID credentials. The chatbot then answers using only the data that user's database permissions, roles and row-level security allow.
Important notes
- The ODBC 18 driver is required for compatibility.
- The connector must be in the active state before you train a model on it.
- Make sure the Abacus.AI egress IP addresses are allowlisted on your Azure SQL server.
Troubleshooting
- Verify that the Azure SQL connector is properly configured and active.
- Check that the database user has been created correctly.
- Ensure that the egress IP addresses are allowlisted.
- Confirm that Microsoft Entra ID authentication works for the user, and that the tenant consent step has been completed.